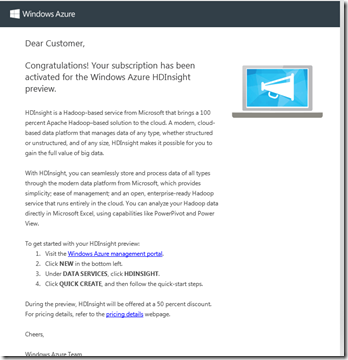
Several weeks ago I registered for the Microsoft HDInsight preview in Azure. Yesterday I finally got the email I’ve been waiting for:
A-w-e-s-o-m-e, he sang merrily as he CTRL+D’d in his browser to azure. Once you log in you’ll be in your Workspaces dashboard, which looks like this:
Click on HDInsight clusters, and it will give you an option to create a new HDInsight cluster. The next screen will appear:
If you don’t already have a storage account, go ahead and create one, then give your cluster a name, password, and select the storage account you want to use, then click “Create HDInsight Cluster.” After you click Create you’ll see Azure working on it:
After it provisions and finishes the cluster, you’ll then see it create the VM, and configure the cluster for you as well. Finally, you’ll get a screen that looks
like:
And at the bottom in the middle, an icon that says “connect”. Click it, and you will be remote desktop’d to the VM head node. Input the password you typed when you were creating your HDInsight cluster, and you’ll go through the normal log on stuff, then you’ll see a Windows Server 2008 R2 desktop. On the desktop are 3 icons (the Hadoop command line, Hadoop MapReduce Status, and Hadoop NameNode Status):
If you click on the Name-Node shortcut, it will open you up to the NameNode status page, which gives you all of the critical information you would want to see about your server. Additionally, you can also browse the Hadoop Distributed File System (called HDFS for short), check the logs, storage, and down at the bottom it will even tell you the Apache Hadoop version that is currently running.
Enjoy!


